


Ducks are known for their quirky personalities, charming waddles, and, of course, their adorable quacks. So, whether you’re interested in fresh eggs, pest control for your garden, or the joy of having these feathered friends around, your duck needs a proper place to call home. That’s where learning how to make a duck coop comes in.
In this guide, you will learn how to make a duck coop. From choosing the right location to building the perfect nesting areas, we’ll cover it all step by step. So, grab your tools, roll up your sleeves, and let’s begin!
Step-by-Step Guide on How to Make a Duck Coop
Step 1: Design Your Duck Coop
As you may know, ducks are larger than chickens and require more space to move comfortably. Therefore, we advise that you plan for at least 4 square feet per duck inside the coop. While designing, you must also consider proper ventilation, as ducks generate a lot of moisture through their breathing and droppings. Good airflow helps prevent dampness, reduces odours, and ensures a healthy environment.
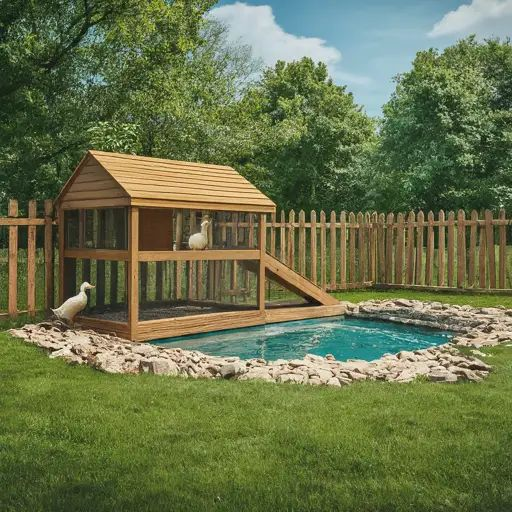
Additionally, accessibility is a must for your ducks and yourself. Ducks have a unique waddling gait, so coop entrances should be wide and low to the ground for easy entry and exit. Moreover, cleaning and egg collection should be hassle-free, so make sure your design includes a human-sized access door.
Predators are also something you need to worry about. To prevent any incident, consider including features like secure latches, sturdy walls, and hardware cloth to protect your ducks.
Step 2: Gather the Necessary Materials and Tools
Now, we have decided on the exact design for our duck coop. However, before we begin to construct, we need to be sure the materials and tools needed are all available, correct? Using the right materials will ensure your coop is durable and safe for your ducks.
Wood, especially pressure-treated timber, is an excellent choice for the frame and walls because it withstands outdoor conditions. For the roof, opt for waterproof materials like corrugated metal or plastic. You’ll also need small-mesh hardware cloth for windows and ventilation openings to keep predators out. Assemble your tools in advance to make the building process smooth and efficient.
The materials and tools you will need for a standard duck coop are:
- Pressure-treated timber or reclaimed wood
- Corrugated metal or plastic roofing
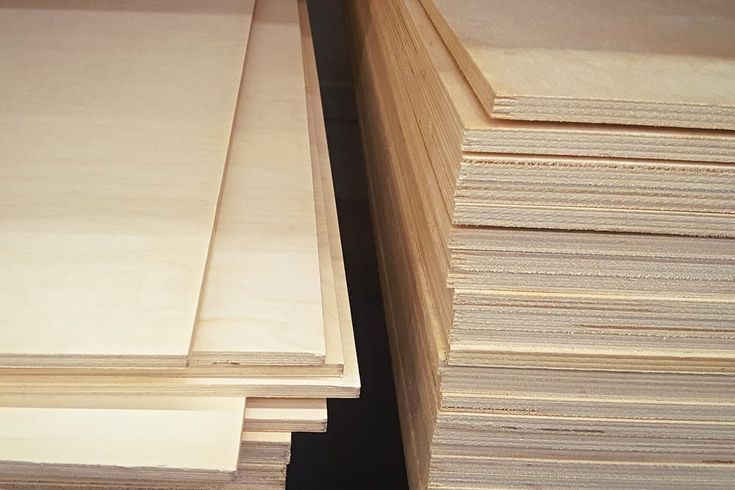
- Plywood for walls and floors
- Hardware cloth (smaller than 1cm mesh)
- Hinges, latches, and exterior-grade screws
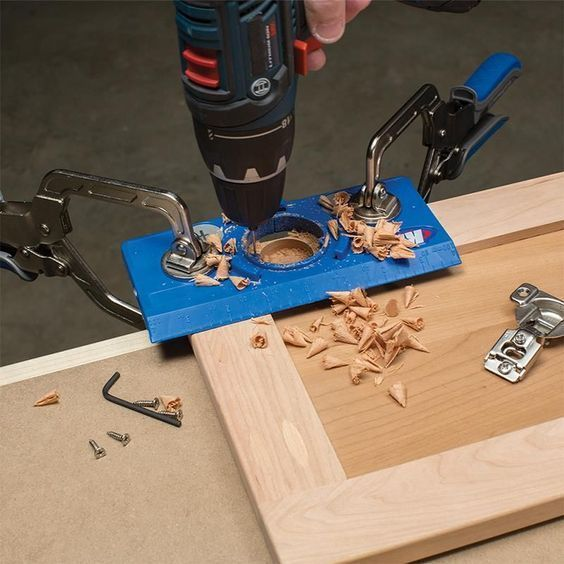
- Saw and drill
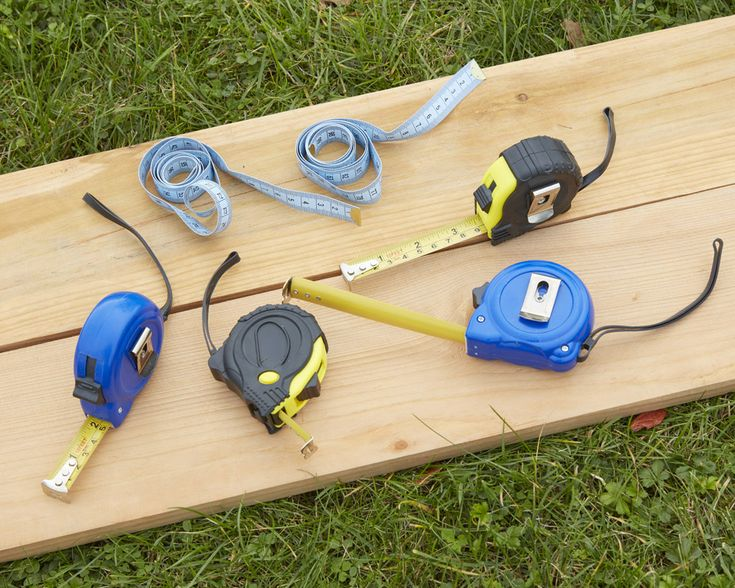
- Measuring tape
- Hammer and screwdriver
- Protective gear (e.g., gloves, safety glasses)


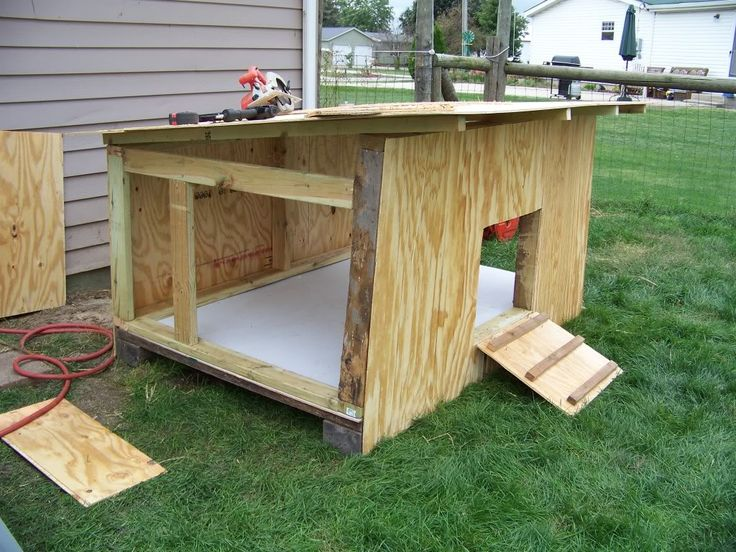
Step 3: Construct the Base and Frame
A strong base and frame are the foundation of a reliable duck coop. Start by selecting a level location that’s slightly high to prevent water pooling. Build the base using treated timber or concrete blocks to raise the coop off the ground. This helps keep the interior dry and deters burrowing predators.
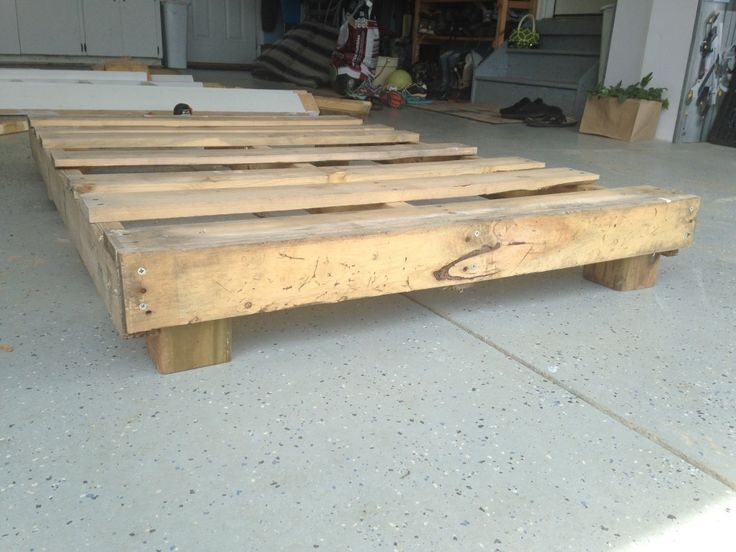
Next, construct the frame using 2×4 timber. This frame will support the walls and roof, so it needs to be sturdy and well-secured. Make sure the structure is square and level to avoid instability. A good base and frame provide a strong foundation to make the rest of the build easier.
Step 4: Build the Walls
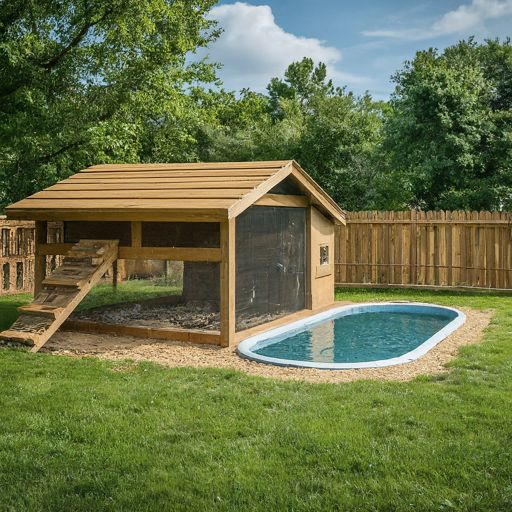
The walls of your duck coop protect against predators and weather and climatic elements. Begin by framing the walls individually, ensuring one side is taller to accommodate a sloped roof. This approach allows for effective water drainage.
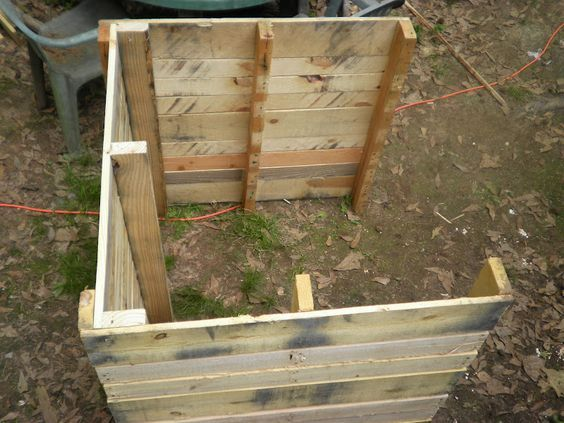
After completing the frames, cover them with your plywood or reclaimed wood for added durability. Remember, ventilation is key to keeping your ducks healthy, so include openings for windows or vents.
Cover these openings with hardware cloth to allow airflow while keeping predators out. Basically, you are following the design already laid out in step 1. And with sturdy walls in place, your coop will offer your ducks a safe and secure environment.
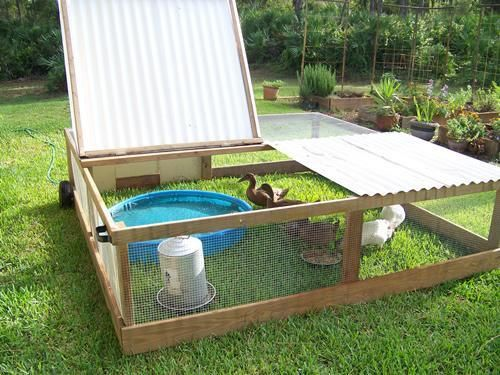
Step 5: Install the Roof
Now, we have the base, the frame and the walls erect. But we do not have a roof yet. The roof protects from rain, snow, and excessive sunlight. Recent research confirms that the best roofs are constructed using waterproof materials. These materials include but are not limited to touch corrugated metal and plastic panels.
Also, apart from the choice of roof materials, ensure your roof is constructed so that it extends beyond the walls during roof installation to direct rainwater away from the coop.
If you live in a colder climate, like in the UK, consider adding insulation beneath the roof to help retain heat. This will keep your ducks comfortable during the winter months. Overall, a well-designed roof keeps the interior dry and also prolongs the life of your coop by preventing water damage.
Step 6: Add Doors and Windows
What is a duck coop without doors and windows? This duo is necessary for accessibility and ventilation. Install a lowly-positioned small door for your ducks for easy access. Also, include a larger, human-sized door for cleaning, egg collection, and maintenance. Both doors should be fitted with secure latches to keep predators out.
At the same time, windows provide natural light and ventilation, which is crucial for maintaining a healthy coop environment. Position them high enough to ensure safety and cover them with hardware cloth for added protection.
4 Tips to Maintain Your Duck Coop
So, now, we are done building. But that is not all there is to it. It goes beyond knowing just how to make a duck coop but also how to maintain the coop. Ducks are naturally messy animals (just like geese); their droppings, spilt water, and bedding can quickly create an unsanitary environment if you don’t manage them properly.
Below are some practical maintenance tips to help you effectively care for your duck coop.
1. Clean the Coop Regularly
The importance of a clean coop cannot be overemphasised. Ducks spend most of their time on the ground so a dirty coop can lead to problems, including duck medical issues like foot infections or respiratory conditions. Always aim to remove droppings and soiled bedding at least once a week. However, you may need to clean more frequently if you have a large flock or during wet weather.
Steps for cleaning the duck house:
- Remove old bedding and droppings.
- Sweep or rake the floor to eliminate debris.
- Disinfect surfaces with a mild, animal-safe cleaner.
- Replace bedding with fresh, dry materials such as straw or wood shavings.
2. Ensure Proper Ventilation
Ventilation is crucial for controlling humidity and preventing the build-up of ammonia from droppings. Check that all vents and windows are unobstructed and covered with hardware cloth to keep predators out. During colder months, you can insulate the coop to retain warmth while ensuring enough airflow to prevent condensation.
3. Inspect for Repairs and Pests
A secure coop is a safe coop. Pay special attention to doors, windows, and ventilation areas, as these are common entry points for pests. Your checklist for repairs includes:
- Check for gaps or holes in the walls and roof.
- Tighten or replace loose hinges, latches, or screws.
- Inspect hardware cloth for tears or rust.
If you also notice signs of pests, such as droppings or chewed materials, don’t hesitate to set traps or reinforce the coop. Predators like foxes and raccoons are another concern, so close all the doors and windows at night.
4. Seasonal Maintenance
Adjust your maintenance routine based on the season. During winter, add extra bedding to keep your ducks warm and ensure the water supply doesn’t freeze. In the summer, focus on preventing overheating by providing shade and keeping water cool. Regularly check the coop’s condition, as extreme weather can affect the structure.
Ready to Make a Duck Coop?
Now that you know how to make a duck coop, why wait longer? I bet you are ready to make your duck coop! Although building and maintaining a duck coop might seem like a big task at first, it’s a way of keeping your ducks happy, healthy, and secure. Plus, having a well-maintained duck coop is a way to enjoy the simple joys of duck-keeping.
Was this guide helpful, or do you have further questions? Please leave them in the comment section below.
Frequently Asked Questions
How Do Ducks Communicate With Each Other?
Ducks communicate using various sounds, including quacking, whistling, and grunting. Females typically use quacking to alert others to potential danger or when they want attention. On the other hand, male ducks produce softer, quieter sounds, often as a way to communicate with their mates. Ducks also use body language, such as flapping their wings or raising their necks, to signal emotions or intentions.
How Do I Introduce New Ducks to My Existing Flocks?
Introducing new ducks to your flock requires careful planning to ensure a smooth transition. Firstly, you must quarantine new ducks for at least 2-3 weeks to monitor any signs of illness. Then, you can allow the ducks to see each other through a fence or barrier before direct contact. Ensure you supervise initial interactions in a neutral area to prevent territorial disputes. Remember, patience and observation are key during this process to ensure all ducks integrate successfully.